Have you ever thought about growing your own potatoes at home? With a few simple steps, you can enjoy a continuous supply of fresh, homegrown potatoes without ever needing to buy them again. Potatoes are relatively easy to grow, and they can thrive in various settings, including small gardens, containers, and even indoors. Here’s the ultimate guide to starting your own potato supply using a simple and effective trick.
Why Grow Your Own Potatoes?
- Cost-effective: Growing your own potatoes saves you money in the long run. You can harvest multiple batches from just a few seed potatoes.
- Sustainability: Growing your own produce reduces your reliance on store-bought vegetables, making it a more sustainable option.
- Superior Taste: Homegrown potatoes are often fresher and tastier than store-bought ones. You’ll also have control over the type of soil and fertilizers you use.
What You Need
- Seed potatoes: These are potatoes specifically grown for planting. They’re certified disease-free and provide a better yield compared to using regular potatoes.
- Soil: Well-draining, loose soil rich in organic matter is ideal.
- Container: If you don’t have garden space, a large container or even a deep bag works perfectly for growing potatoes.
- Fertilizer: Organic compost or a slow-release fertilizer.
- Water: Potatoes need consistent moisture to grow well.
The Trick: Chitting Potatoes
The secret to growing an abundant potato crop lies in chitting, a simple process that involves pre-sprouting your seed potatoes before planting them. Chitting helps give the plants a head start, resulting in a quicker harvest and more potatoes per plant. Here’s how to do it:
- Select Your Seed Potatoes: Choose seed potatoes with multiple “eyes” or small buds.
- Chit Your Potatoes:
- Place your seed potatoes in a cool, dry place with plenty of light (but not direct sunlight).
- Position them with the “eyes” facing upward.
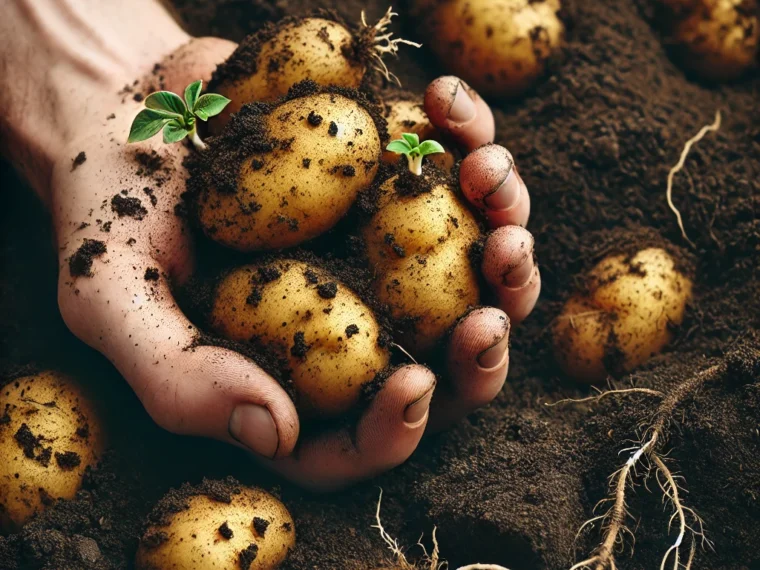
- Let them sit for 2-4 weeks. You’ll notice small green shoots (around 1 inch long) starting to emerge from the eyes.
- Prepare the Soil: While your potatoes are chitting, prepare your planting area. If using a container, fill it with a well-draining, nutrient-rich soil mix. If planting directly in the garden, ensure the soil is loose and fertile.
How to Plant
- Cut Large Seed Potatoes (Optional): If your seed potatoes are large, you can cut them into smaller pieces, ensuring each piece has at least two “eyes.” Let them dry out for a day or two before planting.
- Planting Depth:
- Dig holes or trenches about 4 inches deep.
- Place the seed potatoes in the soil with the shoots facing up.
- Space them about 12 inches apart.
- Cover them with soil.
- Hill Up the Soil: As your potato plants start to grow, you’ll notice green shoots above the soil. Once they reach about 6 inches, begin piling soil or mulch around the base of the plants, leaving the tops exposed. Repeat this process every few weeks to encourage more tuber growth.
Potato Care
- Watering: Potatoes need consistent watering, especially during the tuber formation period. Ensure the soil stays moist, but avoid overwatering, which can lead to rot.
- Fertilizing: Feed your plants with organic compost or a balanced fertilizer every few weeks to promote healthy growth and better yields.
- Pest Control: Keep an eye out for pests like potato beetles. You can use natural insecticides or pick off any bugs by hand.
Harvesting Your Potatoes
- When to Harvest: Potatoes are typically ready to harvest when the plant’s foliage begins to yellow and die back, usually 10-12 weeks after planting. For baby potatoes, you can dig around the base of the plants after 7-8 weeks.
- How to Harvest: Gently dig around the base of the plant, loosening the soil with a garden fork or spade. Be careful not to damage the potatoes. Brush off any excess soil and let the potatoes cure in a dry, airy place for a few days before storing.
- Storing Potatoes: Store your potatoes in a cool, dark, and well-ventilated space. Properly stored potatoes can last for several months.
Benefits of Growing Potatoes Using This Method
- Faster Growth: Chitting speeds up the growing process, allowing you to enjoy potatoes sooner than traditional planting methods.
- Higher Yield: By encouraging more sprouts before planting, chitting helps each seed potato produce more tubers.
- Better Quality: Pre-sprouted potatoes tend to produce healthier plants with stronger resistance to pests and diseases.
Conclusion
With this simple trick, growing potatoes at home becomes an easy and rewarding task. Whether you have a large garden or just a small balcony, you can grow a continuous supply of fresh potatoes with minimal effort. Not only will you save money, but you’ll also enjoy the superior taste and satisfaction of harvesting your own produce. Happy gardening!
